A complete submission runs about 50 photos at minimum, and 100+ on a vehicle with a lot to document — every option, every flaw, every angle. The eight categories below are the full routine. Walk them in order, every time, and nothing gets missed.
| # | Category | Target |
|---|---|---|
| 1 | Exterior walkaround | 8 shots |
| 2 | Wheels (all 4 corners) | 4 shots |
| 3 | Exterior detail shots | 10–20 shots |
| 4 | Interior | 12–15 shots |
| 5 | Engine bay | 4–6 shots |
| 6 | Trunk / frunk / cargo | 3–5 shots |
| 7 | Undercarriage | 3–4 shots |
| 8 | Identification & documentation | 5–8 shots |
Every photo below is a real example from an actual Aprazio-standard shoot — not a diagram, not a stock photo. This is the bar.
Walk the vehicle clockwise
Start at the front and you'll hit all eight naturally. Every position is a full-car shot — straight-on for the four cardinal angles, three-quarter for the corners.
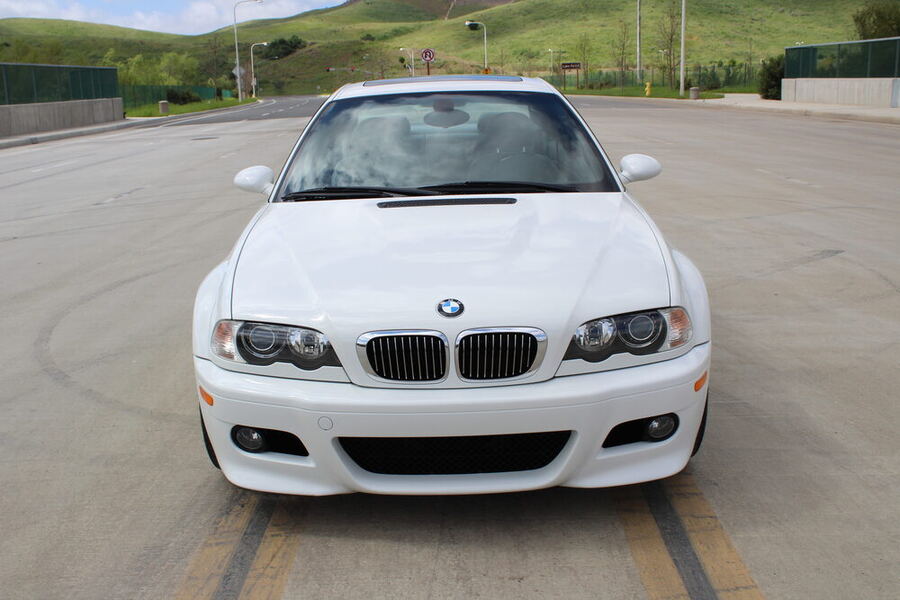
Front (direct)
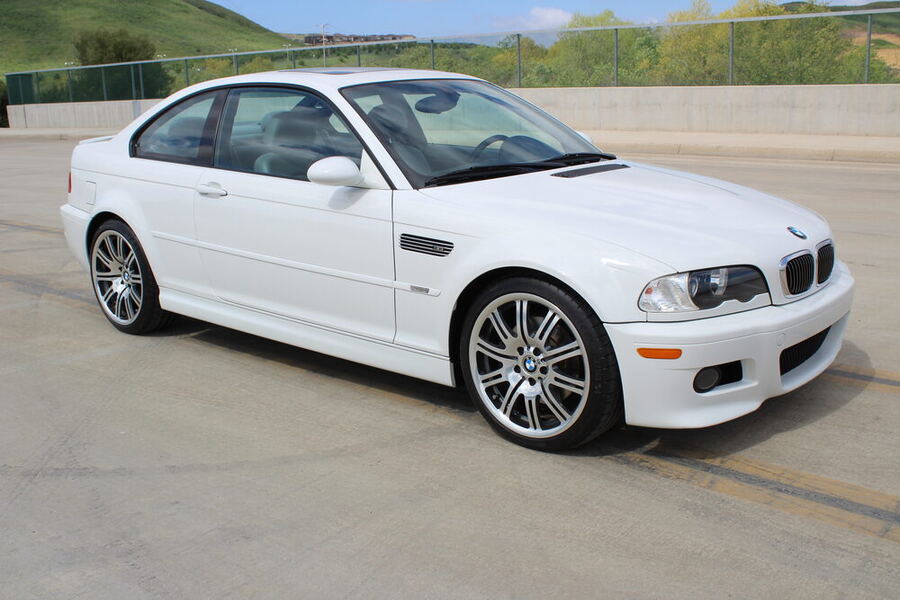
Front-right 3/4
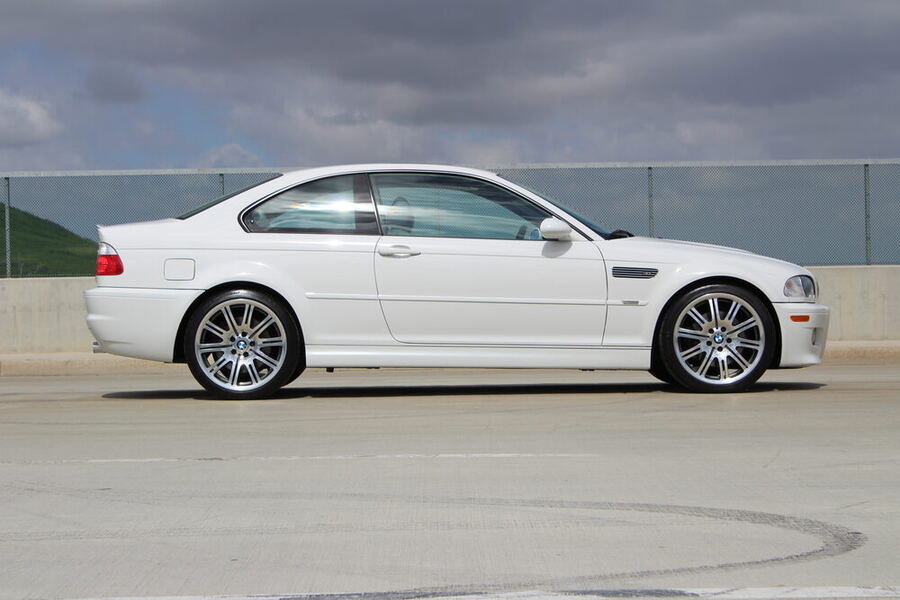
Right side
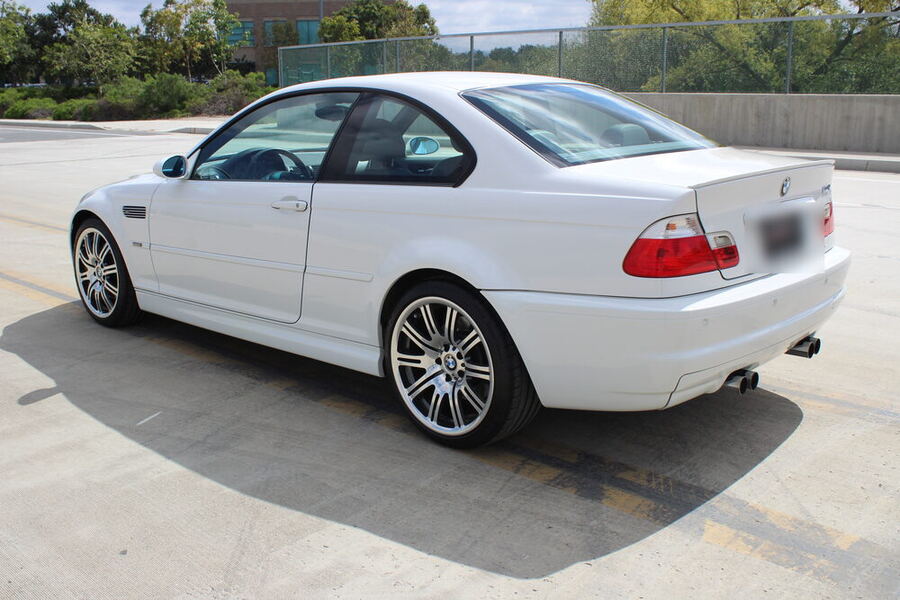
Rear-right 3/4
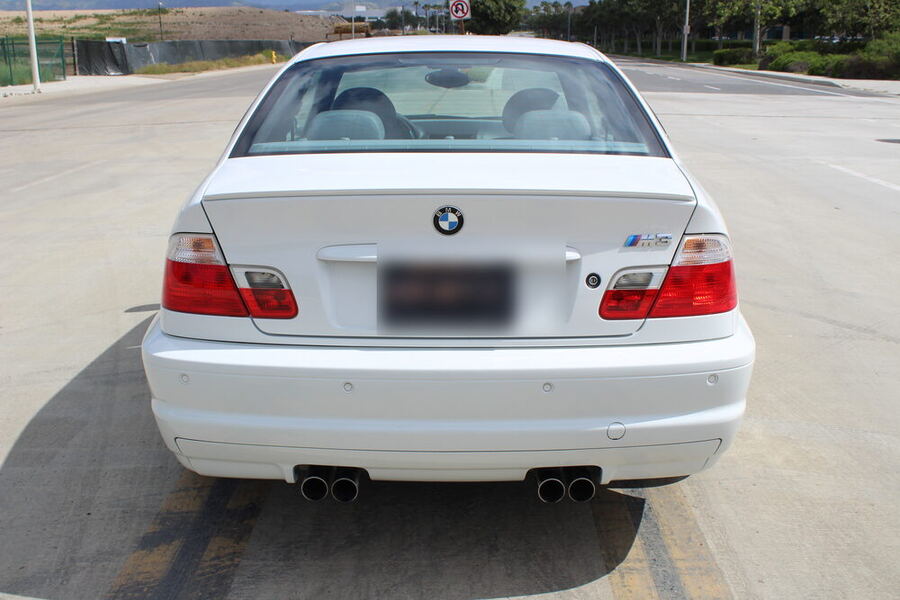
Rear (direct)
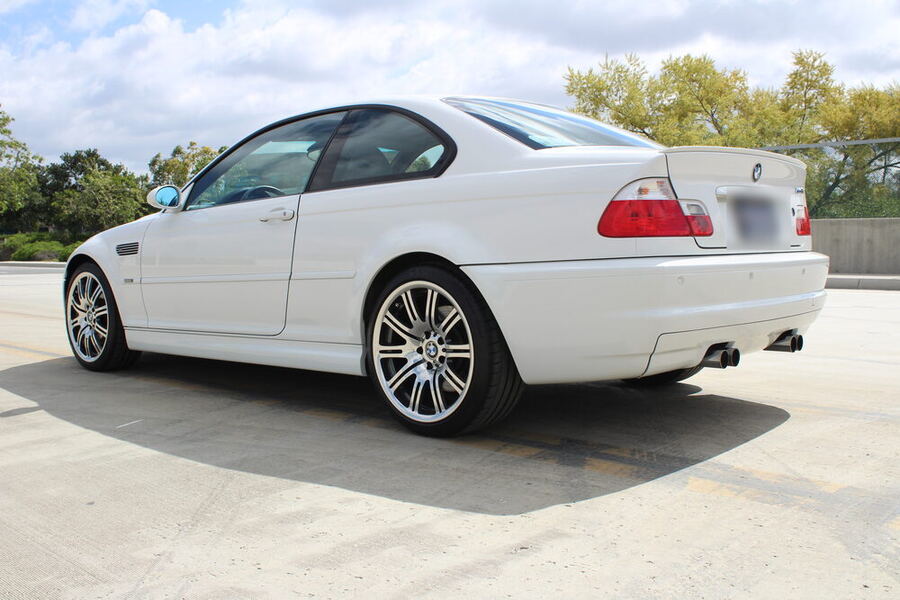
Rear-left 3/4
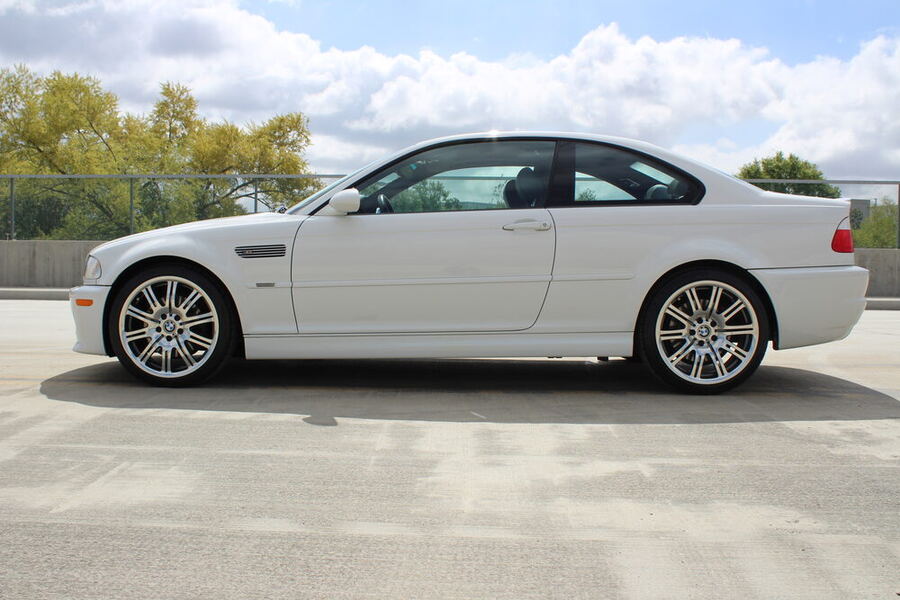
Left side
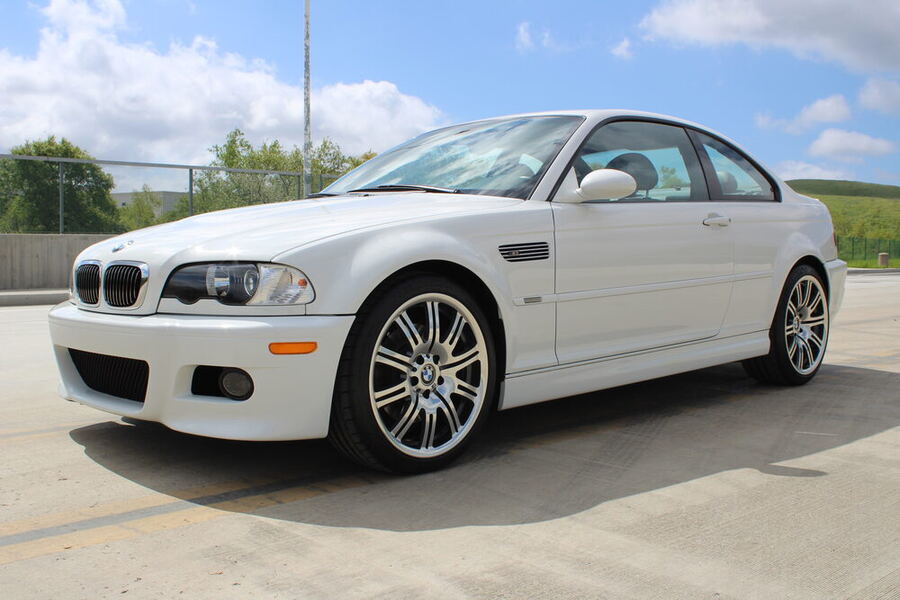
Front-left 3/4
One shot per corner
Front-left, front-right, rear-left, rear-right — close enough to read tread depth and see the full face of the wheel and caliper.
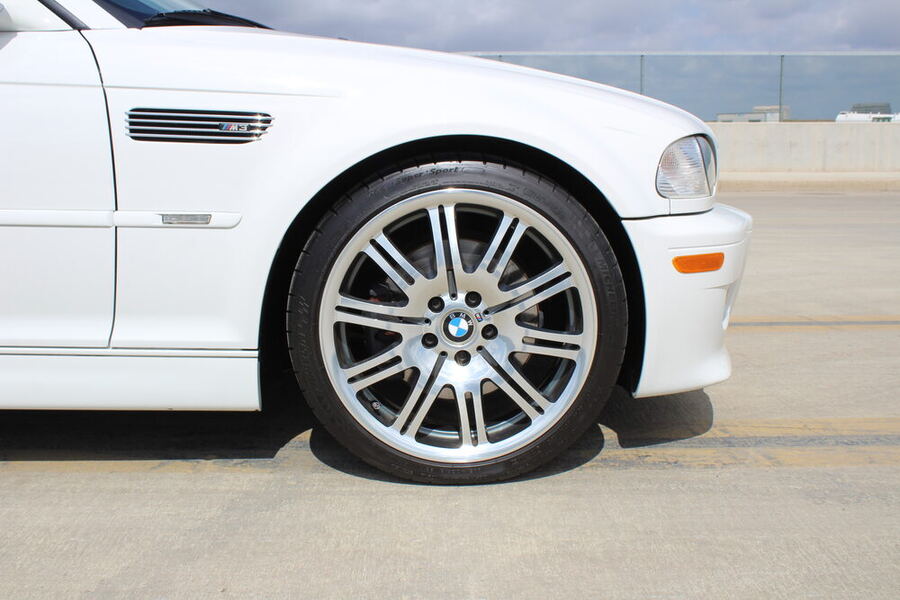
Front-left
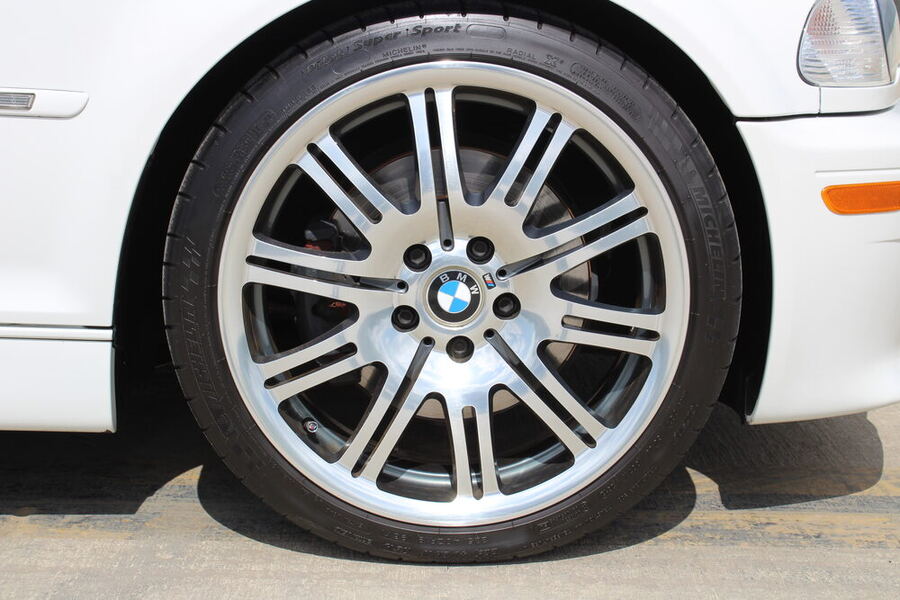
Front-right
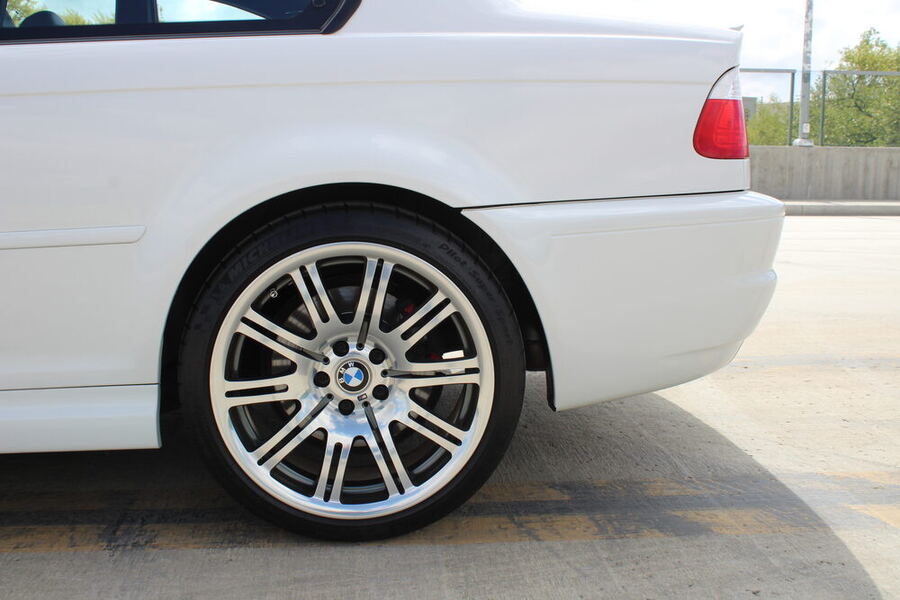
Rear-left
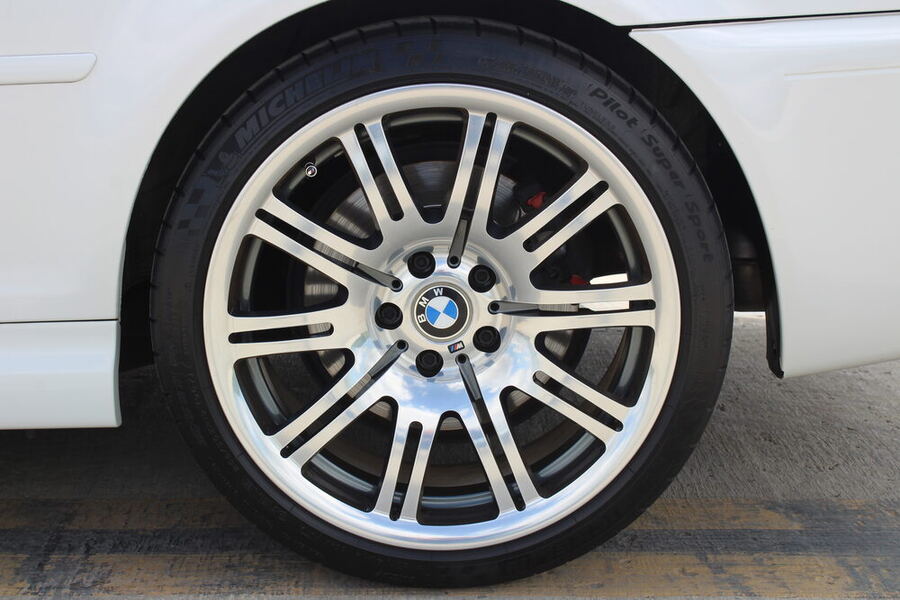
Rear-right
Every badge, every light, every option
Plus a close-up of any damage, wear, or modification. The examples below cover the categories — the actual count depends on how much the vehicle has to show.
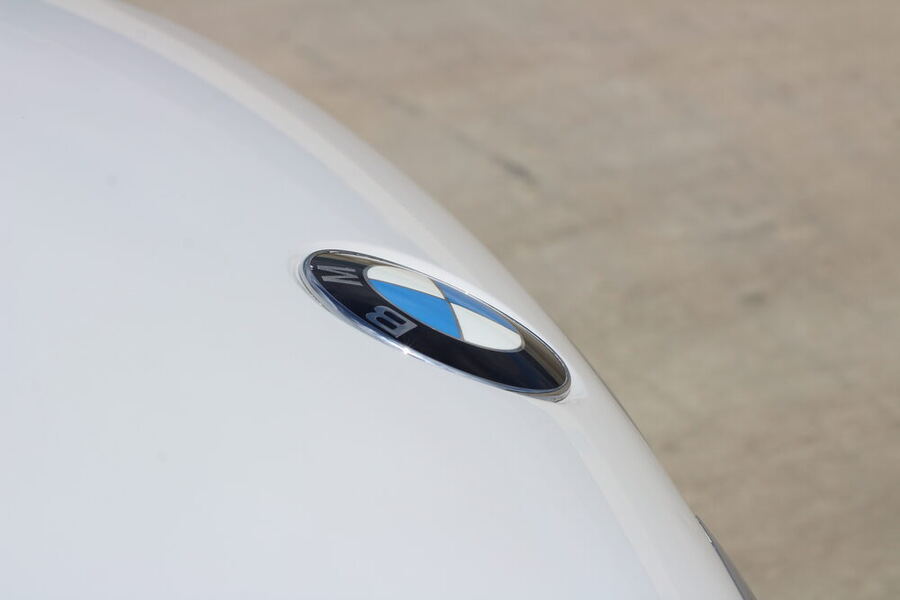
Badge / emblem
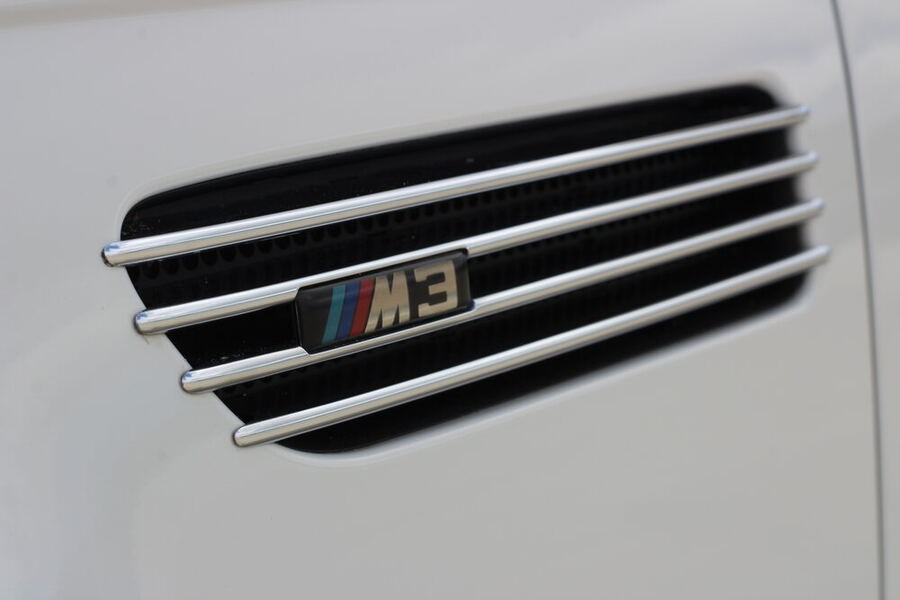
Model badge
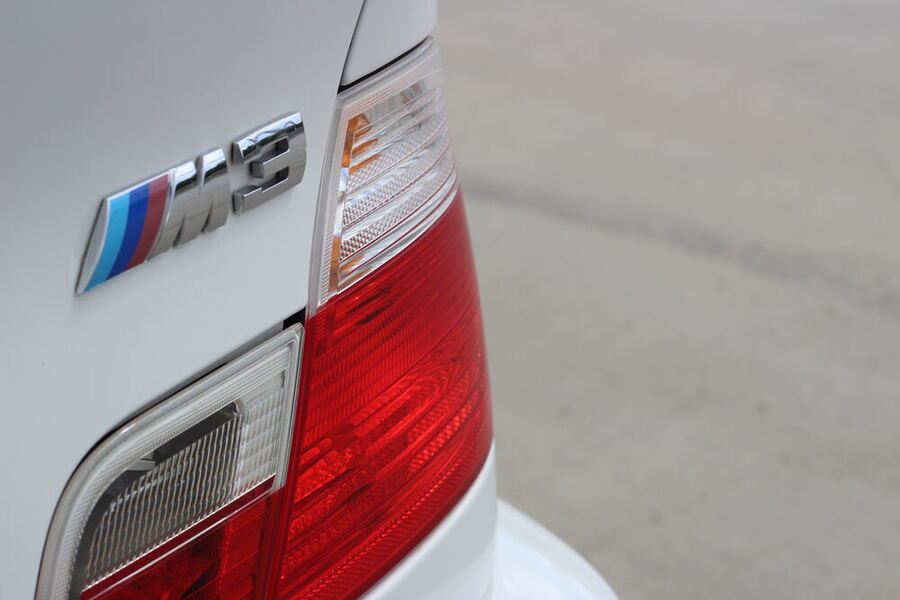
Rear badge
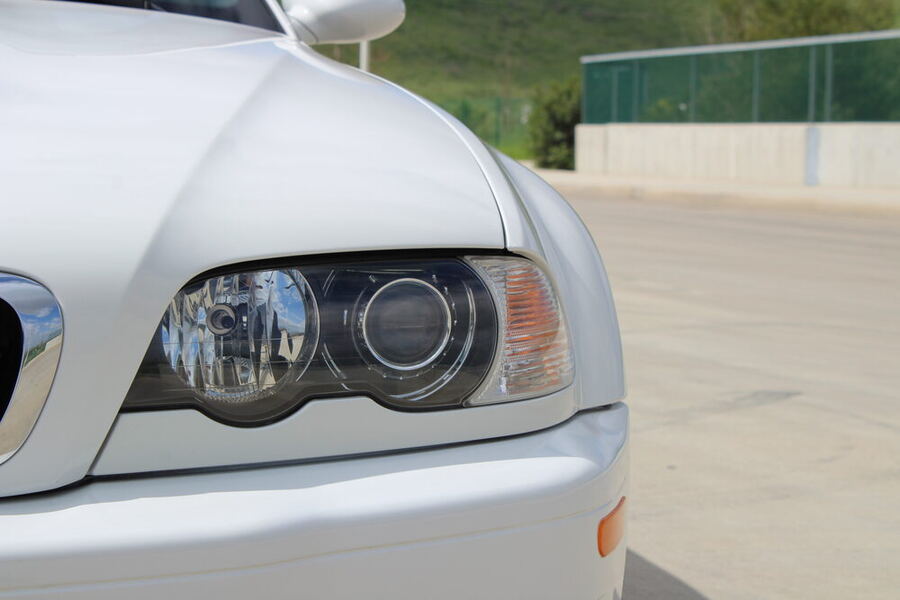
Headlight
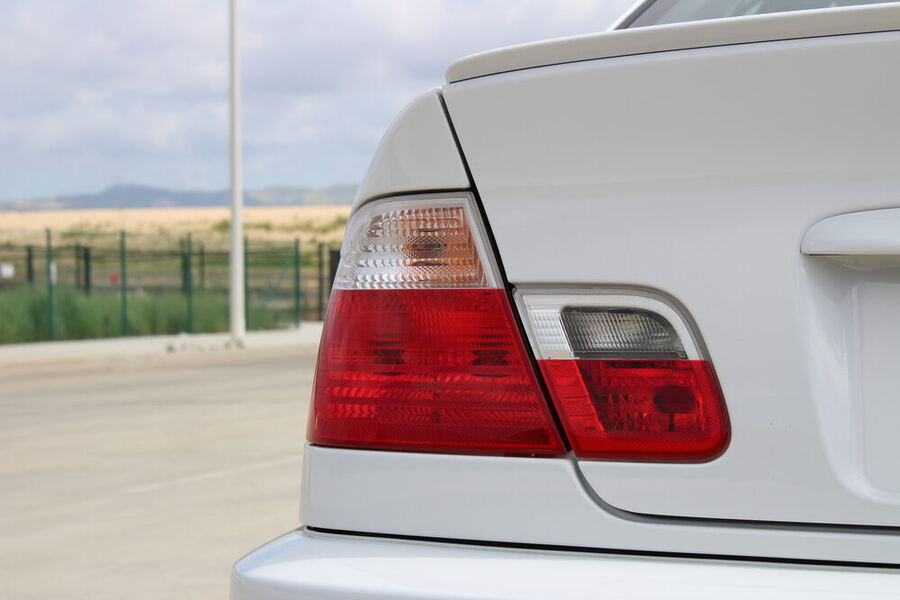
Taillight
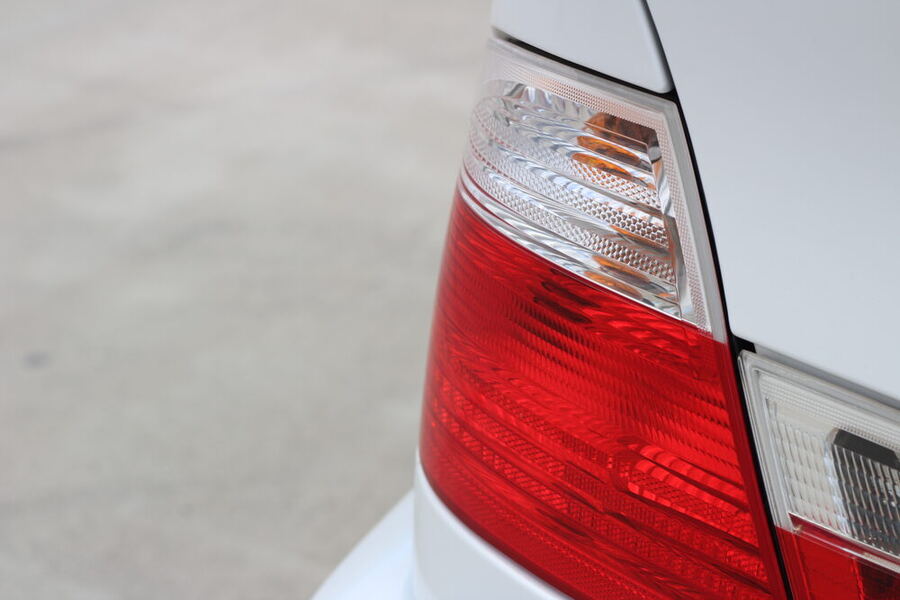
Taillight, angle 2
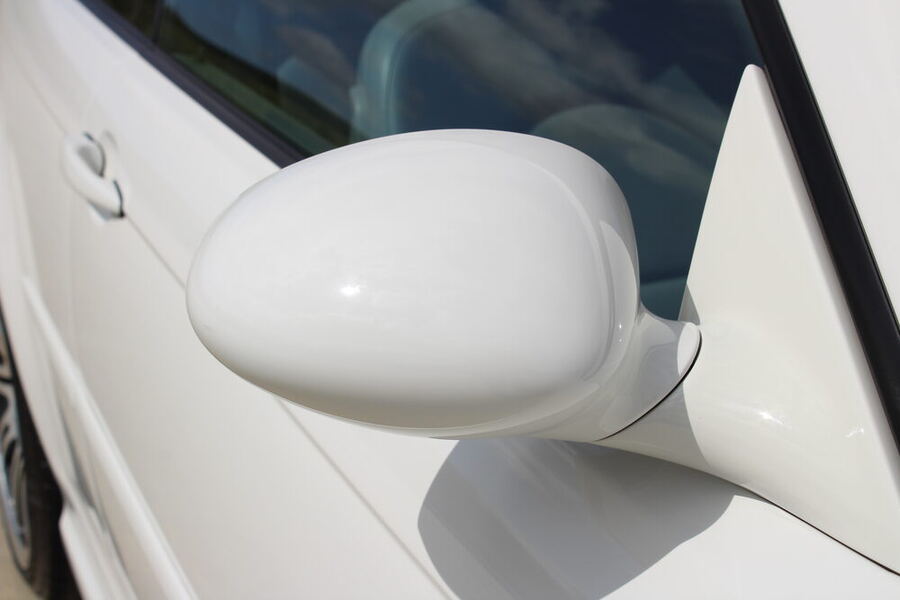
Mirror
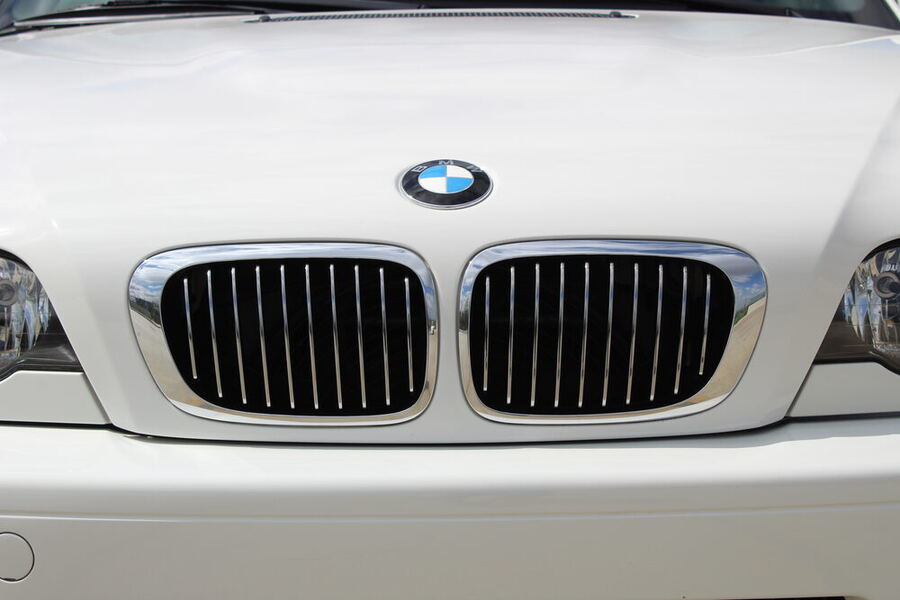
Grille
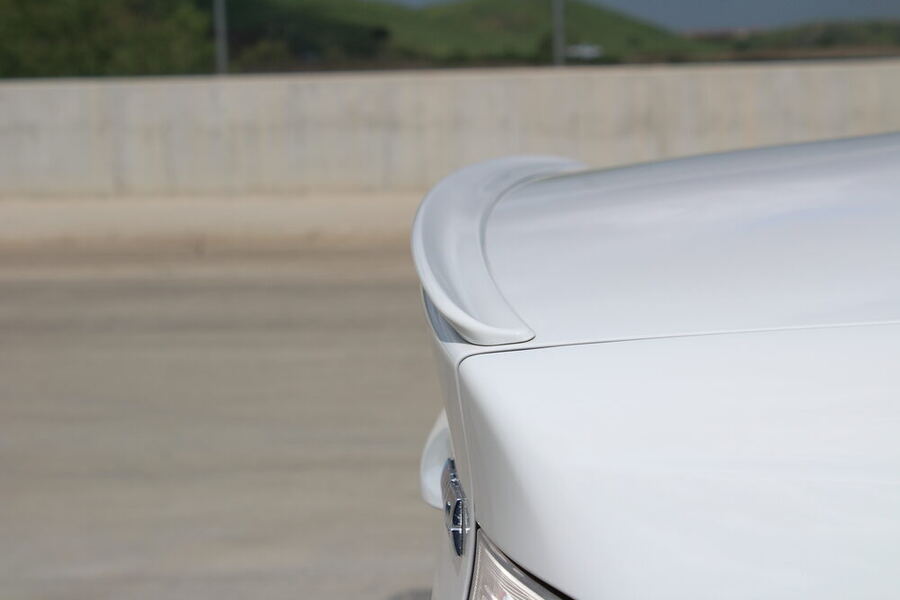
Spoiler / aero
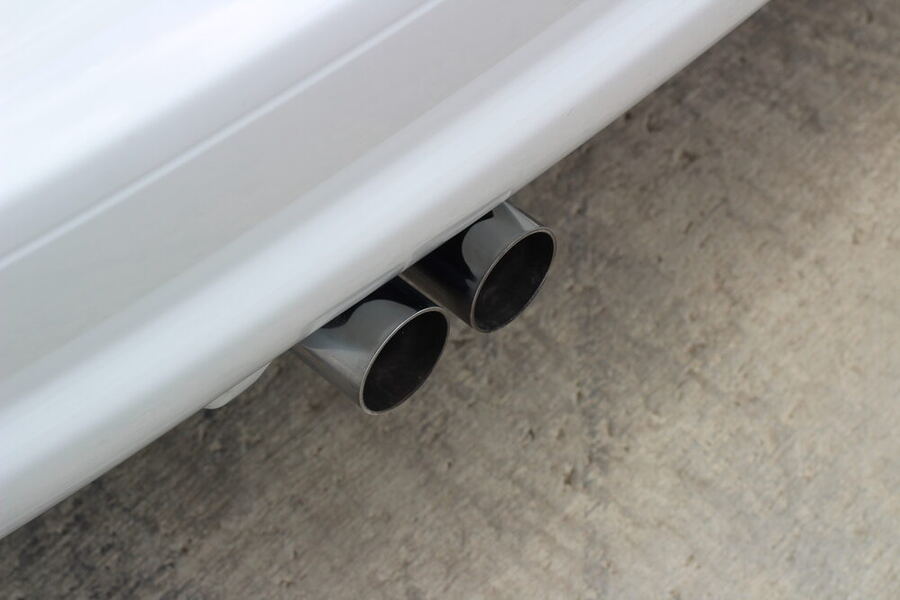
Exhaust
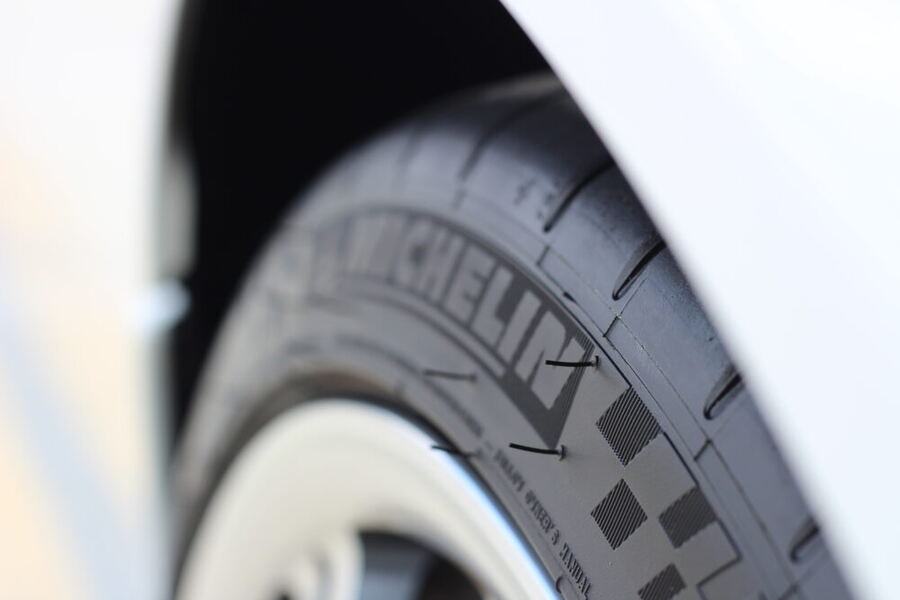
Tire sidewall / DOT code
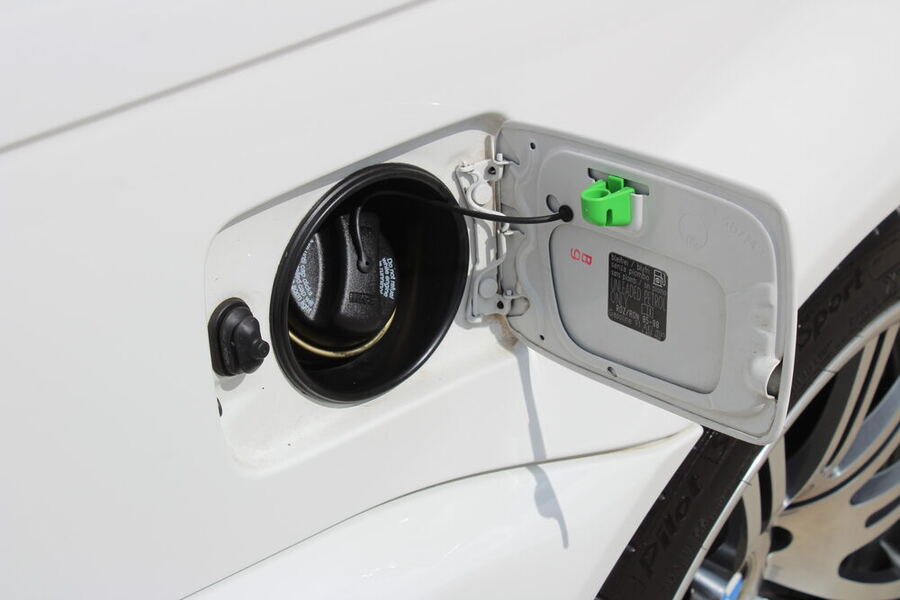
Fuel door
Every surface the driver touches or sees
Dash, seats, doors, and controls.
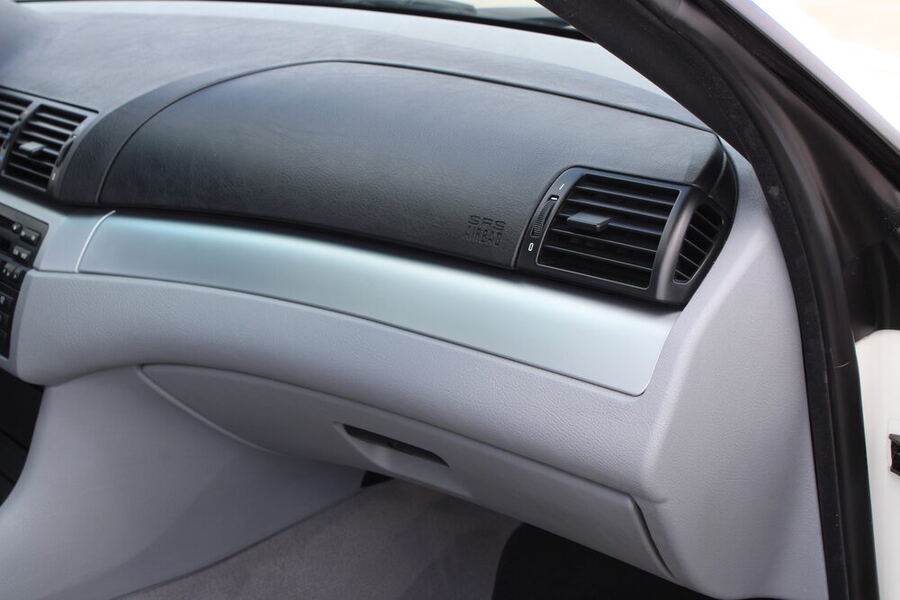
Dash overview
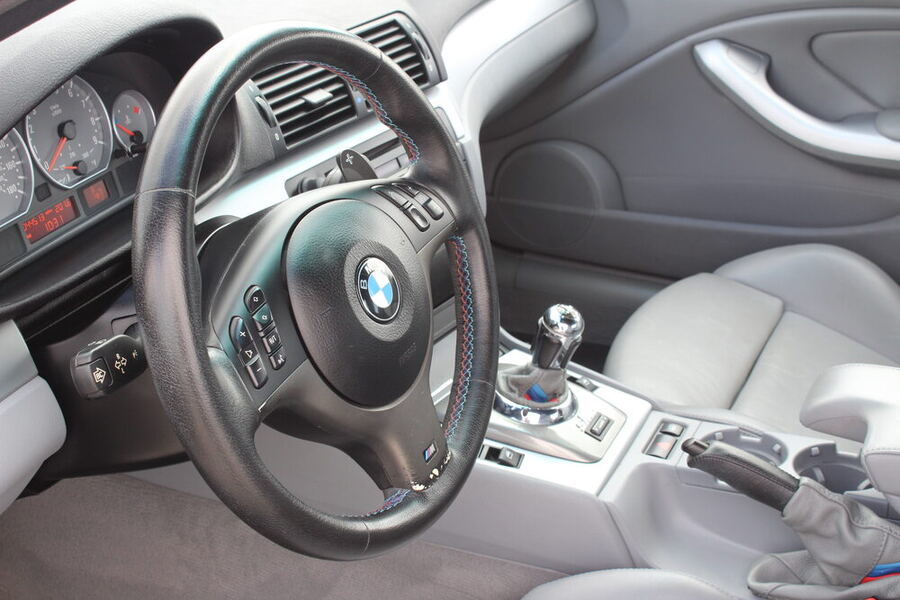
Steering wheel & gauges
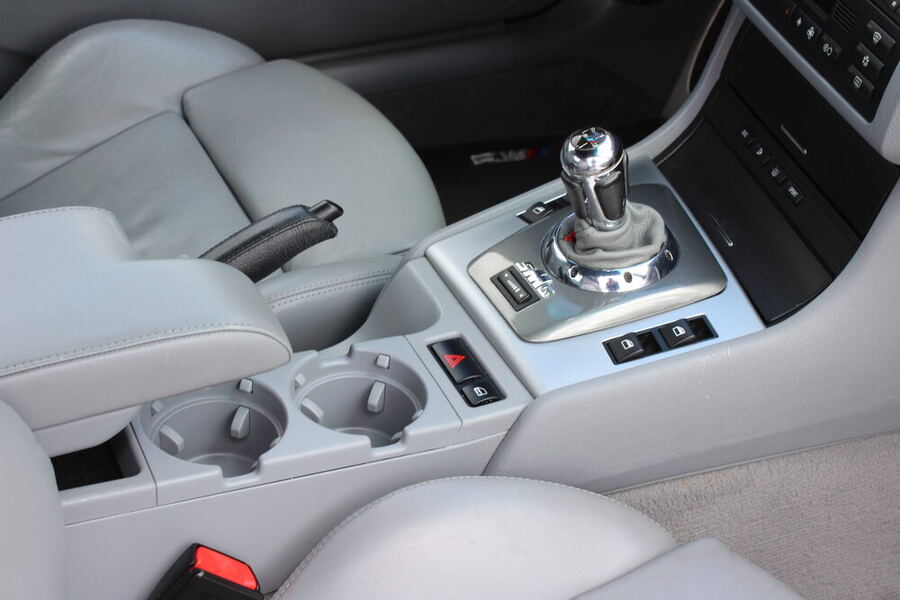
Console & shifter
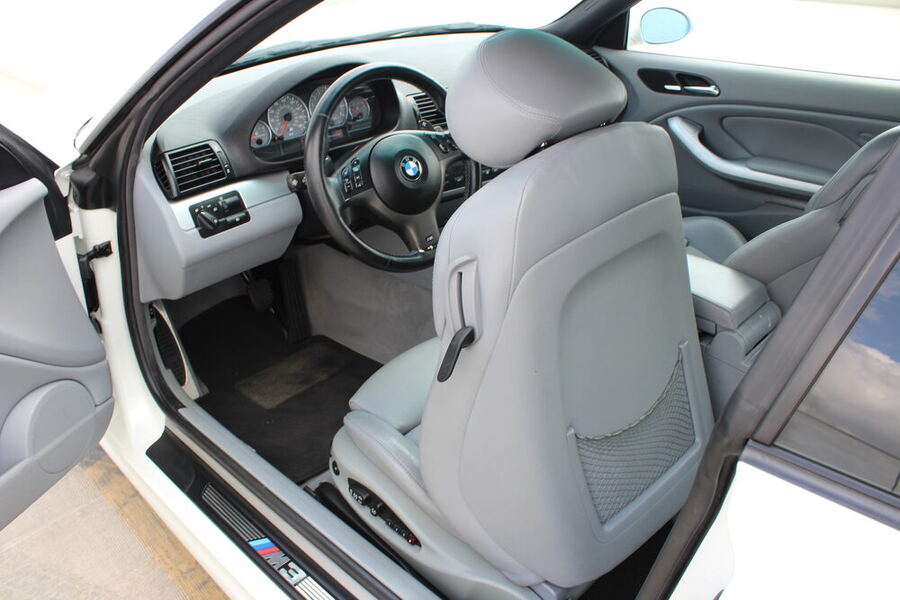
Front seats
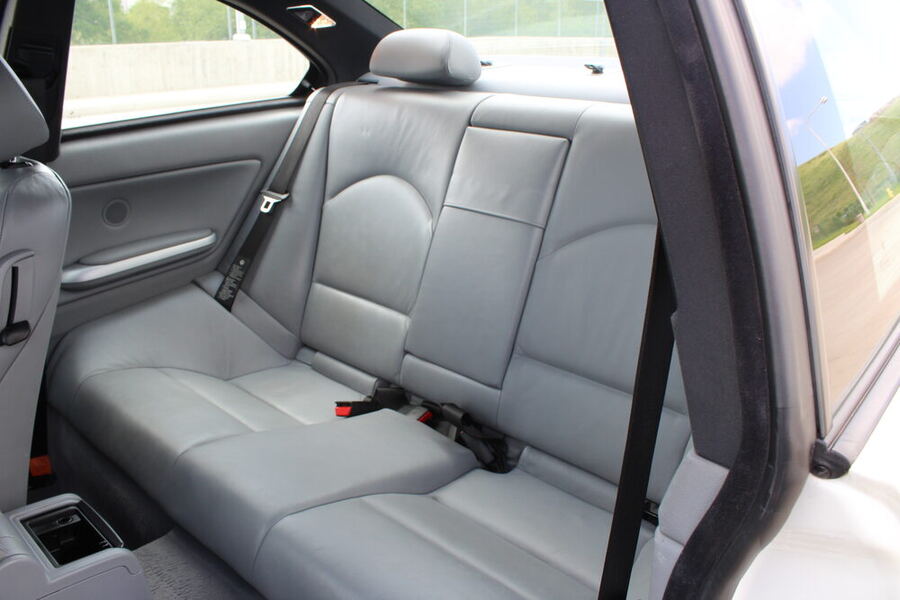
Rear seats
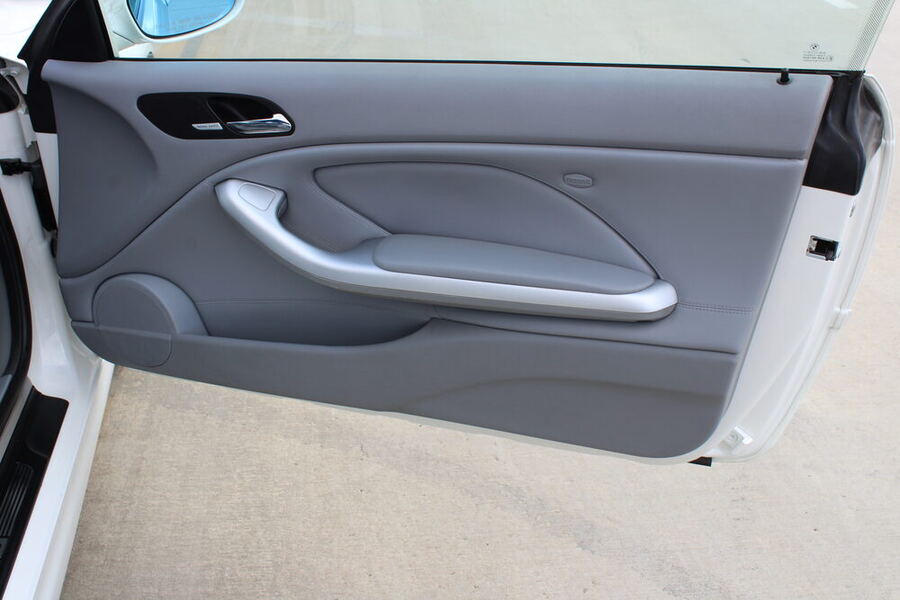
Door panel, open
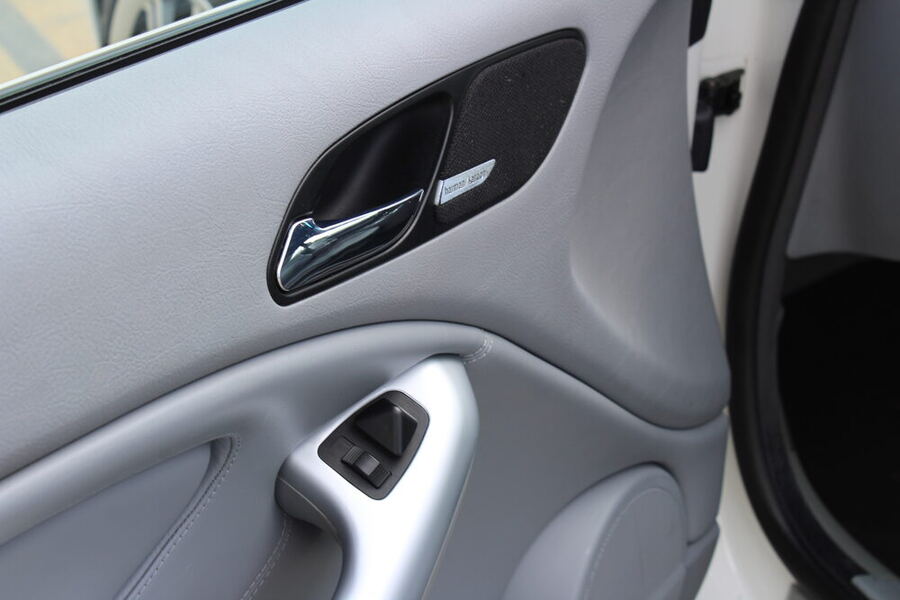
Door panel, detail
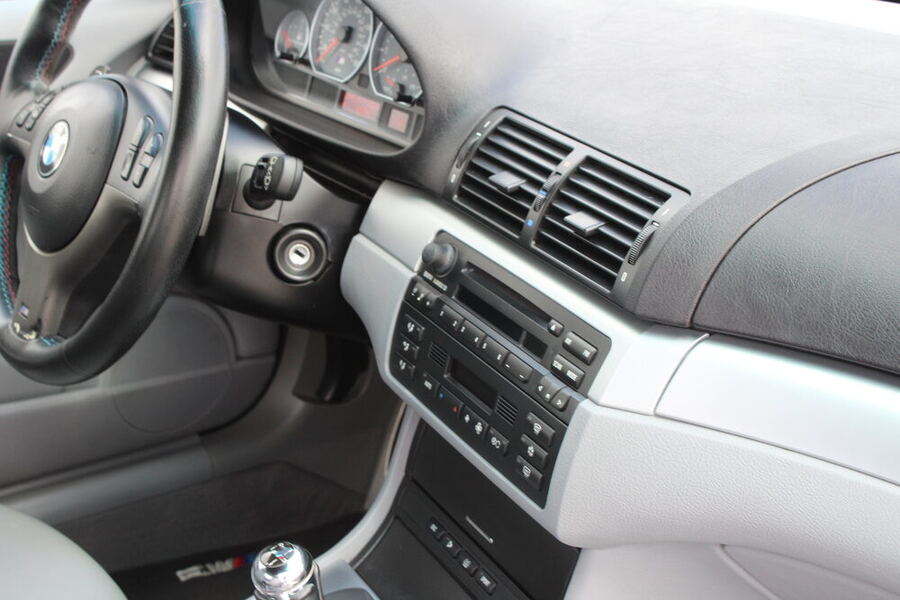
Dash, passenger side
What's actually under the hood
A full bay overview first, then the details that establish condition — fluid reservoirs, the build/emissions tag, and anything non-stock.
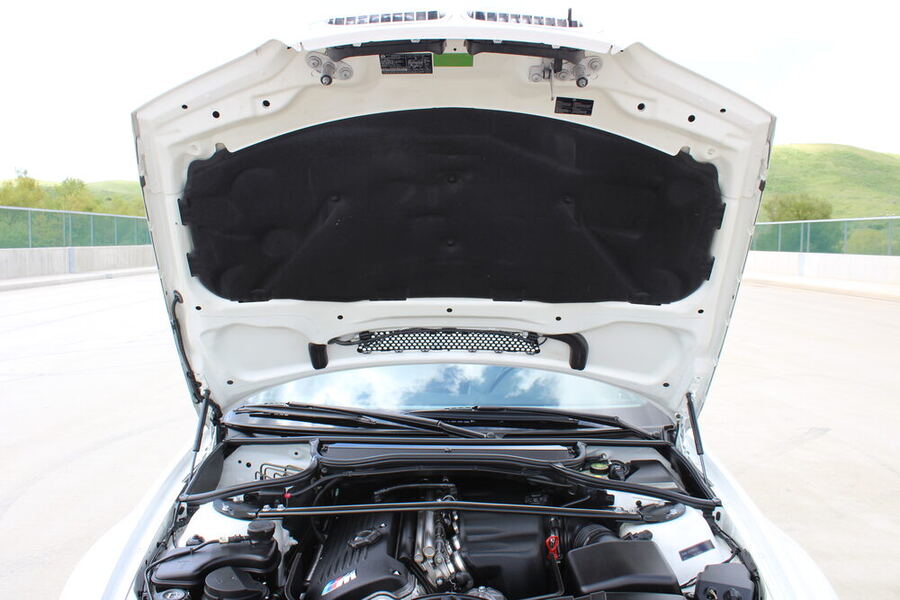
Full bay overview
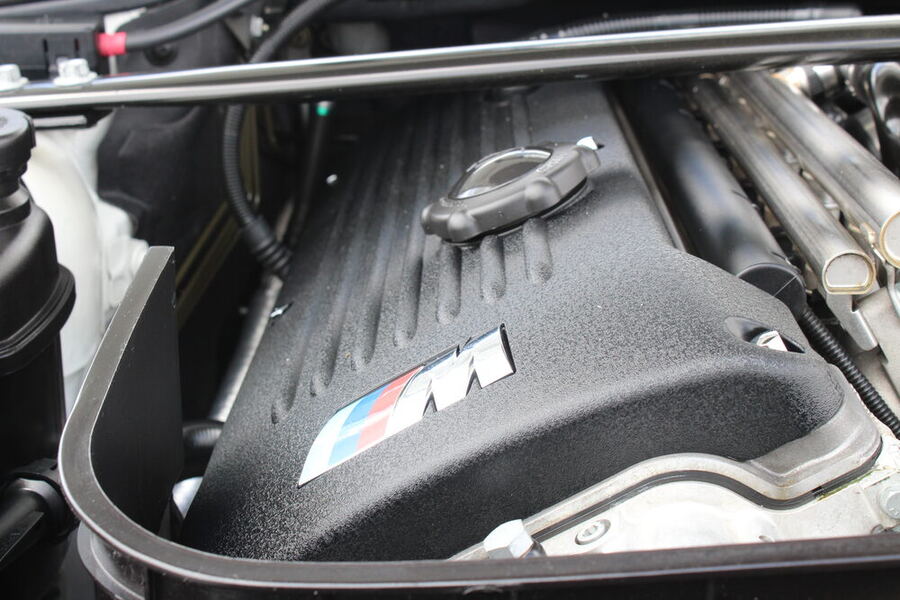
Intake / engine cover
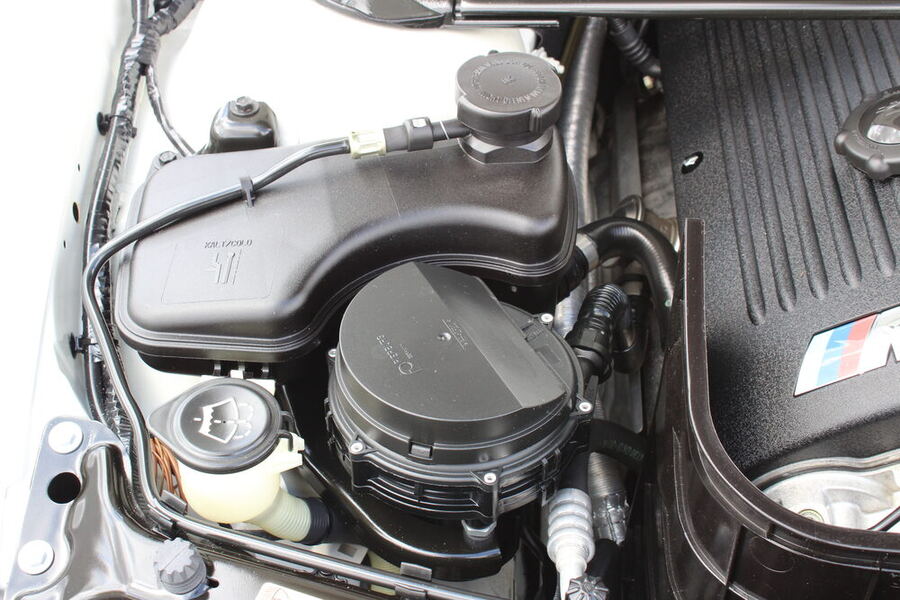
Coolant reservoir
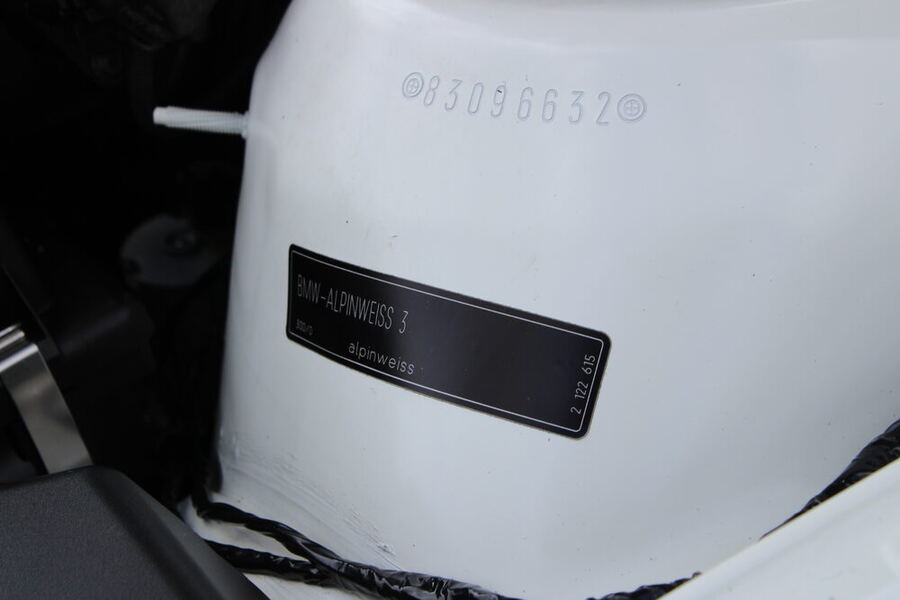
Build tag
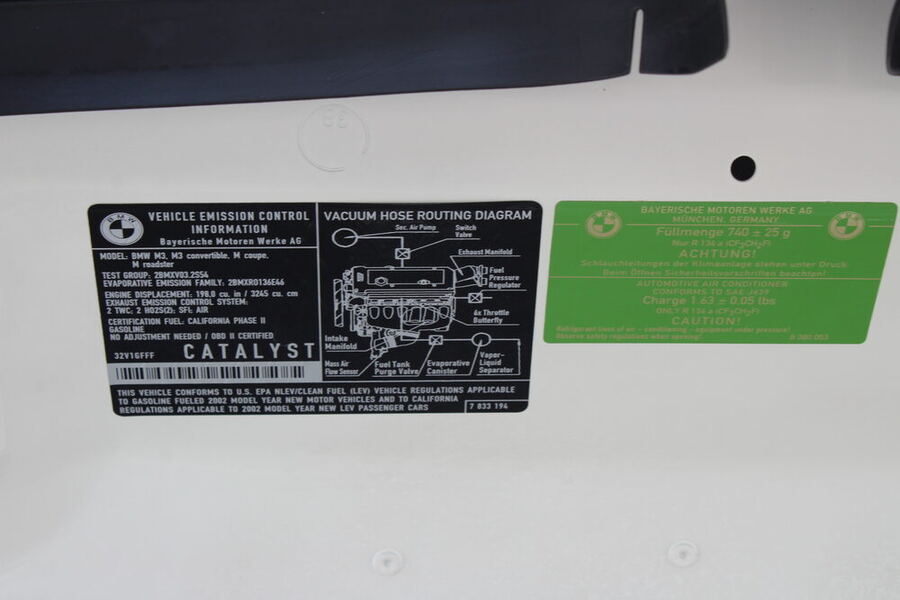
Emissions / VIN tag
Cargo area and what's stowed in it
Full cargo area overview, then the spare tire or tools if present, and any special features — subwoofer box, tonneau cover, factory tool kit, and similar. Pickup trucks: shoot the bed with the tailgate both up and down.
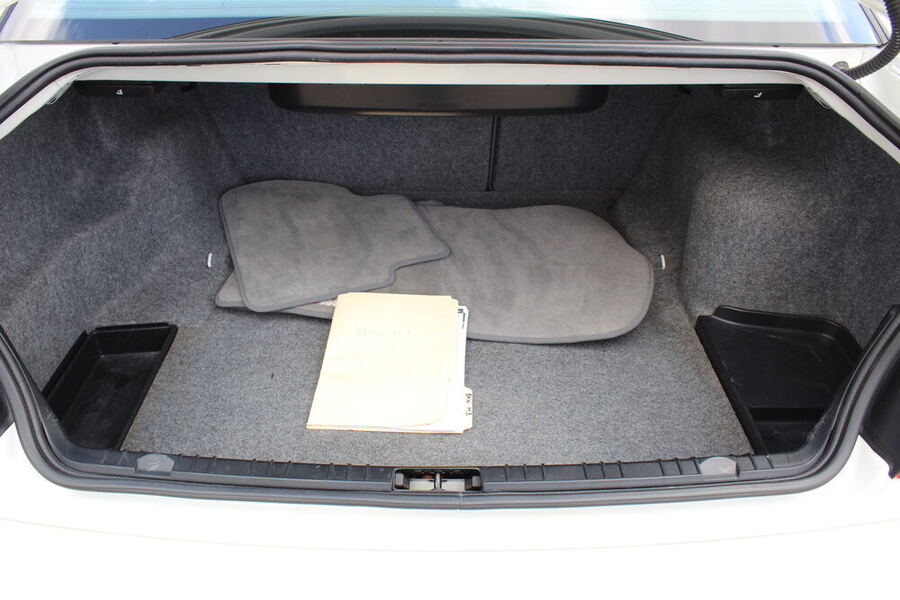
Full cargo area
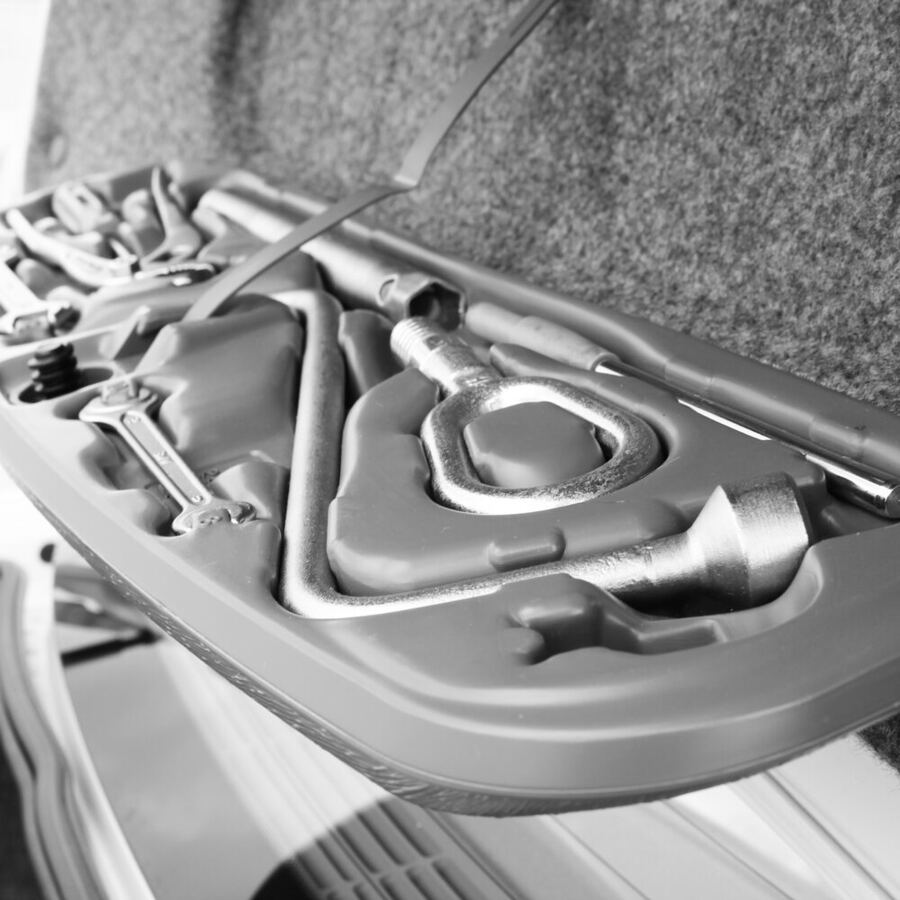
Factory tool kit, stowed
Front, mid, and rear
Shot from straight underneath where it's safe to access. Skip and note it if it's genuinely not accessible.
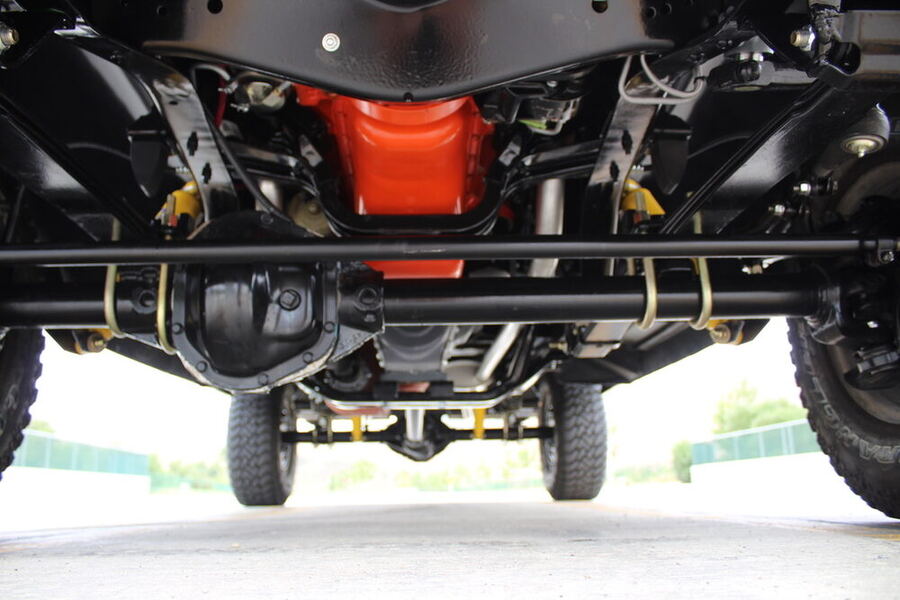
Front
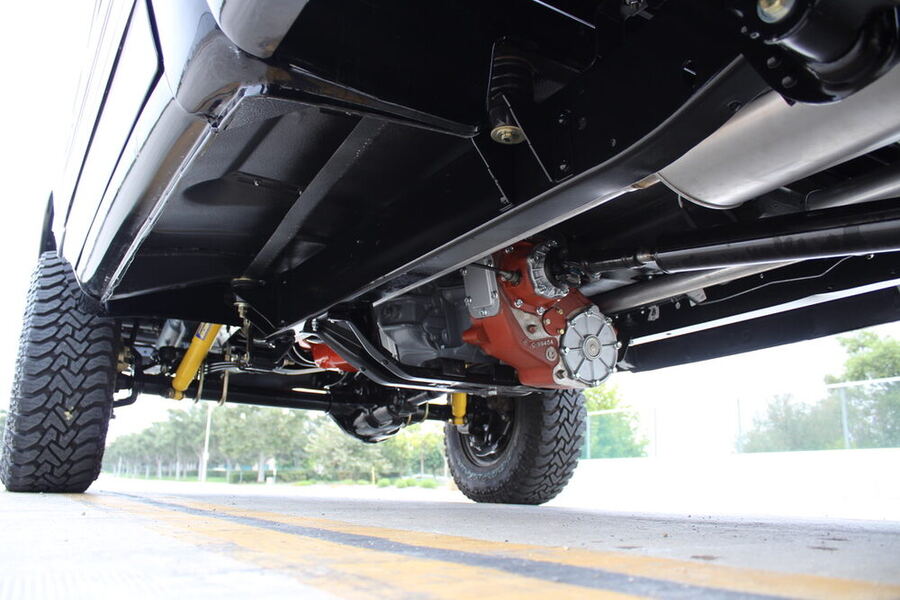
Mid / side
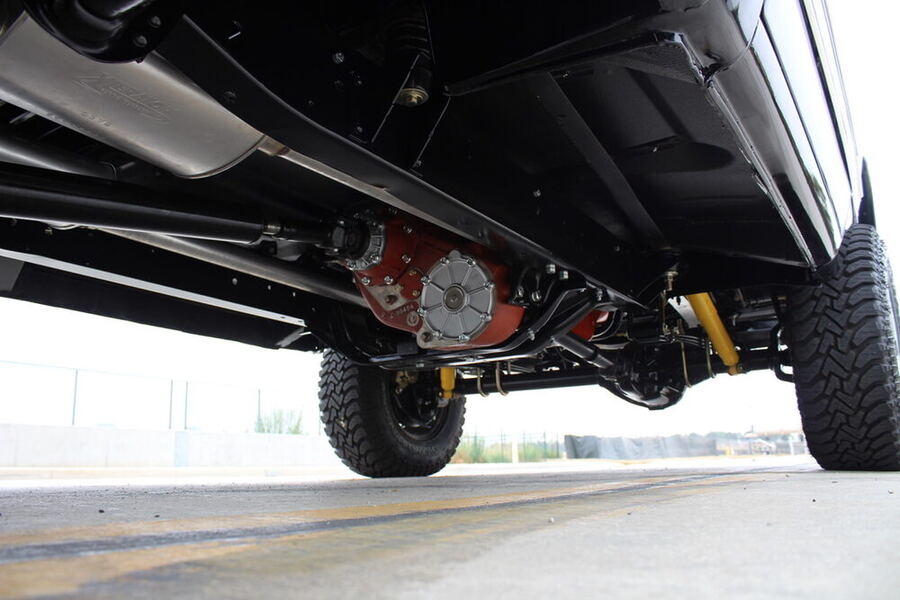
Mid / side, angle 2
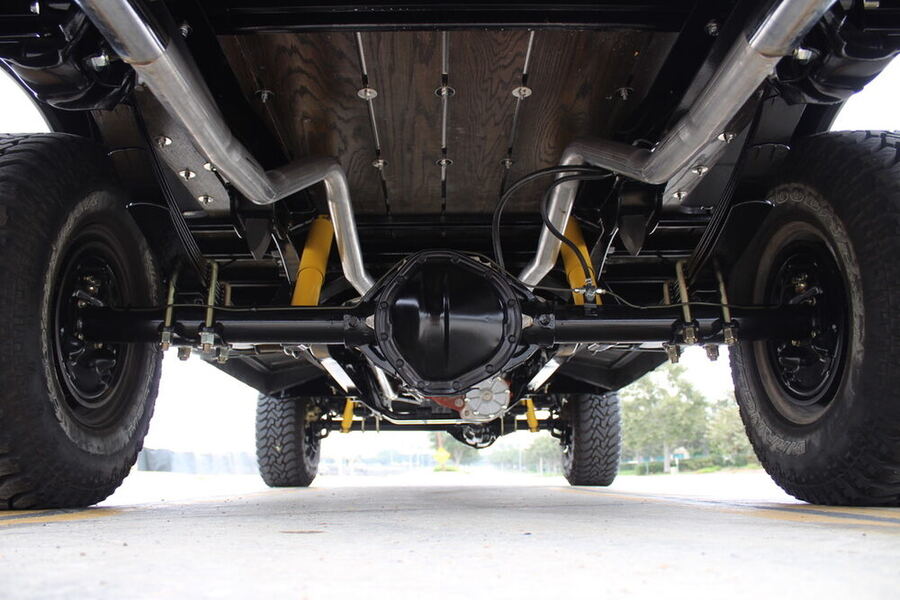
Rear
Undercarriage examples above: from a separate reference vehicle, used to illustrate camera angle and framing only.
VIN plate and build tag first
Always close enough to read every character.
VIN plate
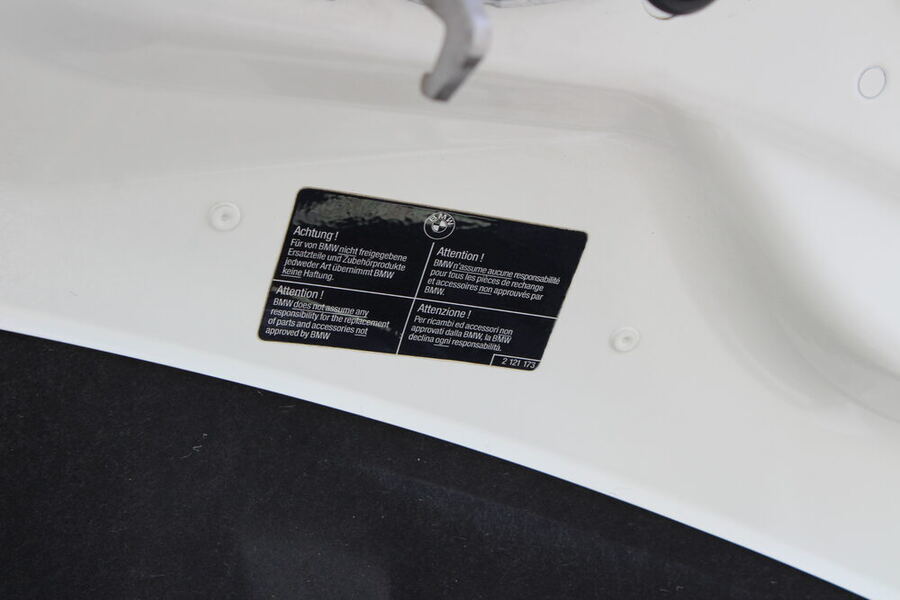
Data / build tag
Then the paperwork: title or registration, window sticker if available, service records, restoration receipts, and any factory tool kit or accessories.
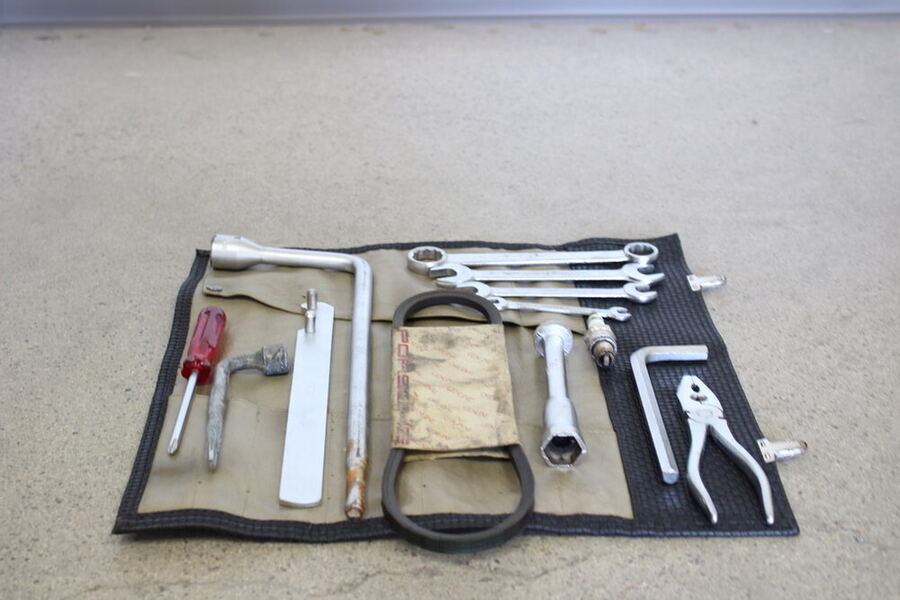
Factory tool kit
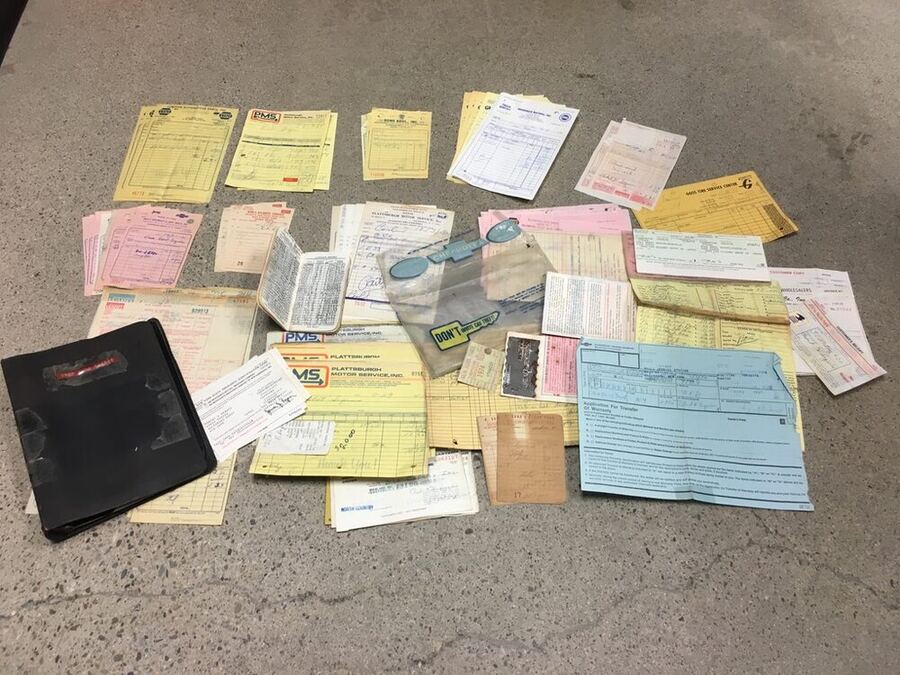
Documentation, full file
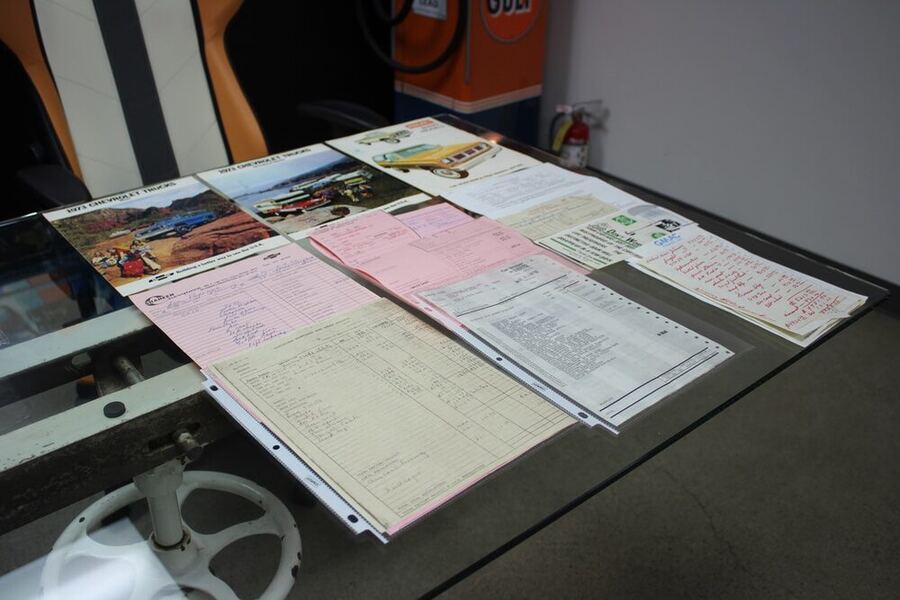
Service records
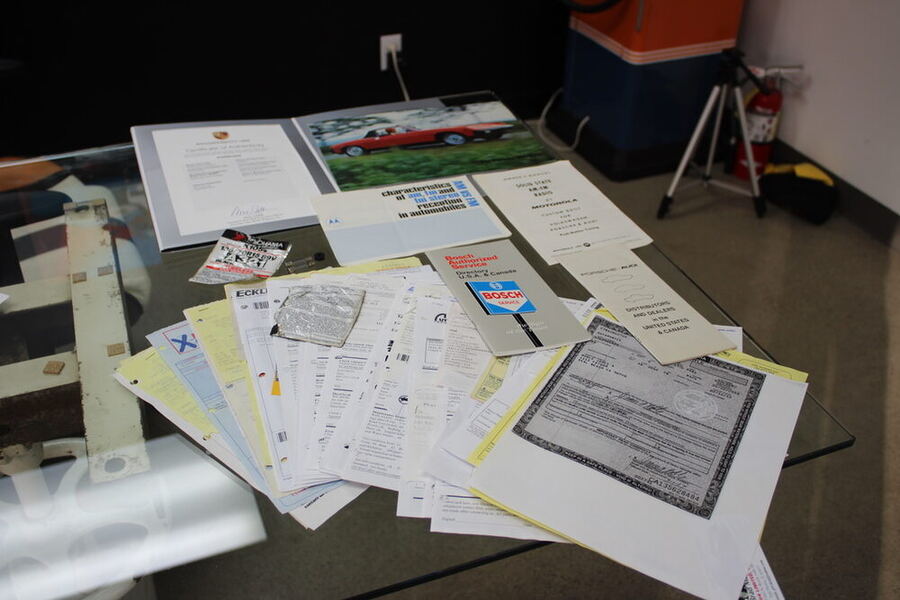
Dealer / warranty card detail
Documentation examples above: from a separate reference vehicle's paper file, used to illustrate photography technique (flat, well-lit, fully legible) only — not a match to any specific car.
- Shoot in natural daylight or bright, even light — avoid deep shadows and direct glare.
- Fill the frame — get close enough that the subject is actually the subject.
- Hold the camera steady; blurry photos usually have to be retaken, which slows everything down.
- Shoot exterior panels straight-on, not at a steep angle, so condition is easy to judge.
- Use your camera's macro or close-focus mode for plates, tags, and badges — if you can't read it on your own screen, we can't either.
- For any damage or wear, include one photo that shows the full area for context and one true close-up.
For Aprazio Collective appraisers — professional standard
On-site inspections are held to a higher documentation bar than a customer's own phone photos:
- Follow the photo checklist in the assignment's report template in order, and keep photos organized in that order on submission.
- Where a paint meter is used, photograph the reading on each panel alongside the meter display.
- Photograph the odometer and, where available, the trip/service screen showing mileage clearly.
- Photograph any repair documentation, invoices, or paperwork the client provides on-site, flat and fully legible.
- Re-shoot on the spot rather than submitting a photo you're not confident is usable — it's faster than a QC rejection and a second visit.
Ready to upload?
Use the link from your confirmation email, or paste your order link below.
Go to my order →